

Custom Boxes Design Guide – How To Print Packaging For Your Business?
Whether you’re a brand, a print shop, or whatever the case may be, if you’re shipping products to customers, having some sort of custom packaging is very important. The package when it shows up on their doorstep that is their first visual and impression of what you and your brand are all about. Would you rather send your stuff in blank cardboard boxes or send it in custom boxes? Next, we are going to show you the easy way to print your own custom box packaging.
How To Print Your Own Custom Boxes?
To do this, you do not need an entire screen printing operation. In fact, you could do this with the absolute bare minimum, ink, a squeegee, and an exposed screen. You should be using at least a cheap entry-level single-station screen printing press. And you’re going to get much cleaner, much more consistent and much more professional results out of it.
The first thing you need to do obviously is figuring out what size of a gift box you need to ship your stuff in. 10 X 8 X 6 boxes can cover probably 80% or more of the orders, these will fit a hoodie and a couple of shirts or a bunch of shirts and a few hats. In order to figure out how big to make it, we need to measure all the printable surface areas of this box which would be the top and bottom flaps. The main front and side panels are box-shaped.
To do that, you’re going to need a ruler, to measure the outer edges of the box. Then you got to measure all the little individual panels which are a lot more difficult. An easy way to do that is to just take your box and give it a quick pre-fold, so it gives you some creases in the box, then lay it out, and use those as guidelines to take your measurements from.
Take those measurements and use them to create a template in adobe illustrator, CorelDRAW, affinity, or whatever you decide to use this method will work as long as it’s a vector-based graphic software. Open up adobe illustrator, get an artboard set up to the outer dimensions of the box. Then pull up the rectangle tool and make rectangles the exact same size as the panels that we measured on the box. Lay them out accordingly. Click and drag to highlight all the rectangles, then right-click and hit make guides. Since you get a nice little template set up here, add a background layer to look like a box. Now we can just copy and paste the artwork and lay it out however you need to according to how you want to print on these panels.
The artwork side of this is definitely going to be the most difficult part of this whole process, especially if you’re a beginner. For your screen, you’re going to want to go with anywhere between a 280 to a 305 mesh, because you are printing onto a somewhat harder surface that doesn’t absorb a lot of ink. You don’t want to lay too much down on there, you are looking for just a nice thin crispy ink deposit. The higher the mesh count, the less ink you’re putting down. We’re also going to be printing these with water-based ink which is pretty thin in general. The reason why you are using water-based ink is that the water-based ink will penetrate and bond to the cardboard whereas, we don’t want this print scratching off getting damaged during shipping, we want it to look good when it shows up to the customer. The other reason is for people using the absolute minimal setup is this ink will actually air dry over time. You don’t need to worry about having a dryer, having a flash, having a heat gun even a blow dryer in your house. You can let this stuff sit for a while and it will eventually dry up and you’ll be able to touch it and ship it.
Before you start, always lay down a thin layer of fresh water-based adhesive on the pallet. It definitely helps when it comes to lining things up and keeping things in check as you print. Another thing before you start is to pick a spot on the pallet, that’s going to be easily repeatable to keep laying your box down. You can make tape lines, you can make marker lines or to keep it even easier, just use the side and the front edge of the pallet and line the box up. When it comes to lining up your artwork to the box, if you had done the design portion of it right, this should be relatively easy. And if you were extra smart during that step, you would have added registration marks to the center of each of these things to make lining it up a lot easier.
When you’re printing these things, give yourself a little bit off contact from the box. You really don’t need a whole lot somewhere between like a sixteenth of an inch to an eighth of an inch, and the maximum is all you need. When it comes to the print, you can use a push stroke or a pull stroke, whatever you’re comfortable with. As a matter of fact that, you’re moving in a more natural direction use push stroke.
Other a couple of things to keep in mind, the first is that your boxes are going to have a seam in them somewhere. Be mindful of that when you do the whole push stroke, because you are pushing, you have set up your artwork and pressing away. So that when you are pushing your squeegee, it’s gliding right over the top of this seam. If you had it backward, you’d be pushing and catching into that seam. The other thing is that if you’re brand new to water-based ink and you’ve never used it before, do not leave your screen open for any longer than say like 20-30 seconds. If you need to walk away from your press for a bit, just take it, flood it over, and then walk away. Because it dries out incredibly fast.
Now that you have your print laid down, there are four ways to cure this thing. If you’re a screen printer and have a whole setup, the easiest and best way to do this is just to take this thing and run it through your dryer. They do come out of there a little bit curly, but this is unavoidable no matter how you set this thing up. Because you’re essentially quickly evaporating all the moisture out of that cardboard, but once they sit for like half an hour or an hour, they flatten out completely again and they’re as good as new. The other way to cure these things if you’re a printer and don’t have a conveyor dryer is with your flash, make sure you’re careful and pay close attention to this thing because flashes are really hot and dangerous. Furthermore, this is a real quick way to burn the cardboard down if you’re not paying attention. The third way is to use a heat gun, it’s pretty self-explanatory, turn the heat on and blast away. Then the fourth way and most time-consuming way is to let these things air dry and the easiest way to do that is to take your box and just open it up and place it on the floor and just come back periodically and check it give it a little finger dab. Once it’s not sticky anymore, you’re safe to print the other side.
When you’re all done, just scoop the remaining ink right back into the container, then take your screen and scrub it and wash it out with some water, let it dry, put it back on the shelf and save it again for later.


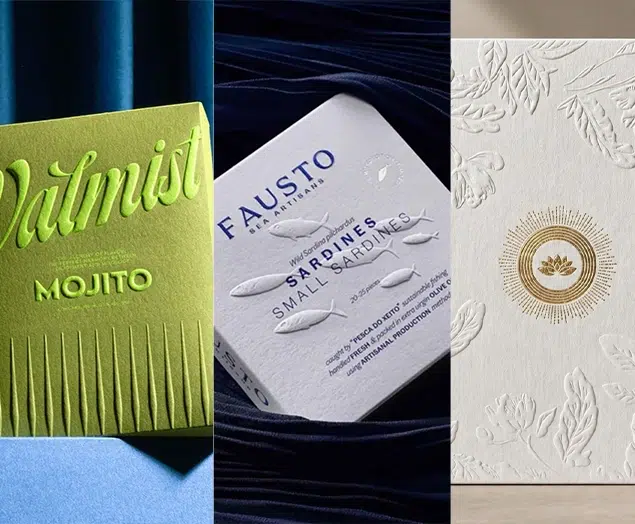
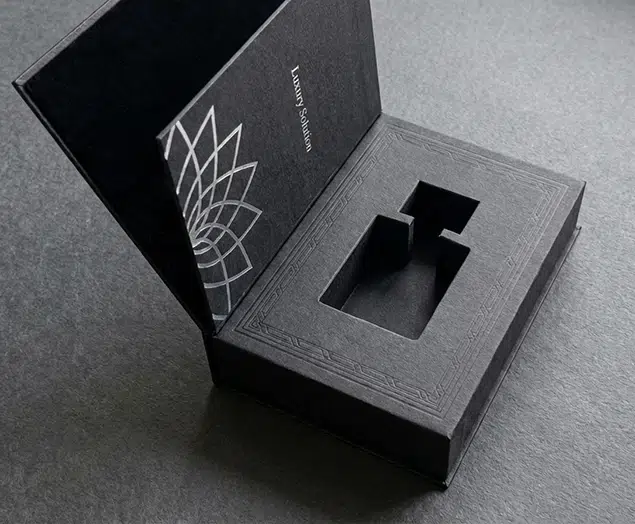
Top 10 Creative Cosmetic Packaging Design Ideas & illustrations 2023 | Luxury-Paper-Box.Com
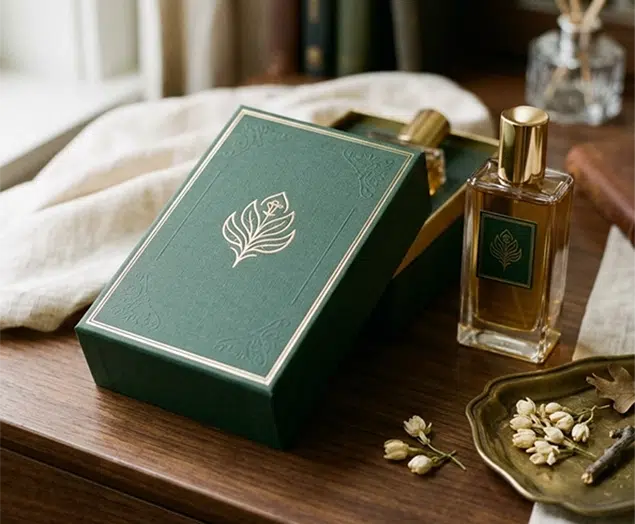
How the Right Perfume Packaging Sells the Scent
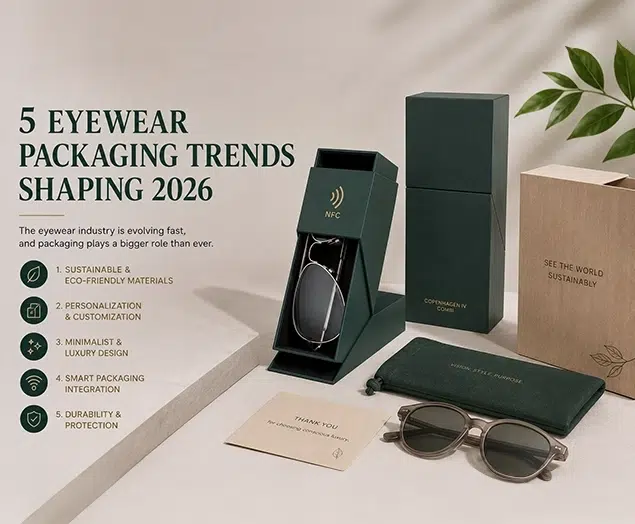
5 Eyewear Packaging Trends Shaping 2026