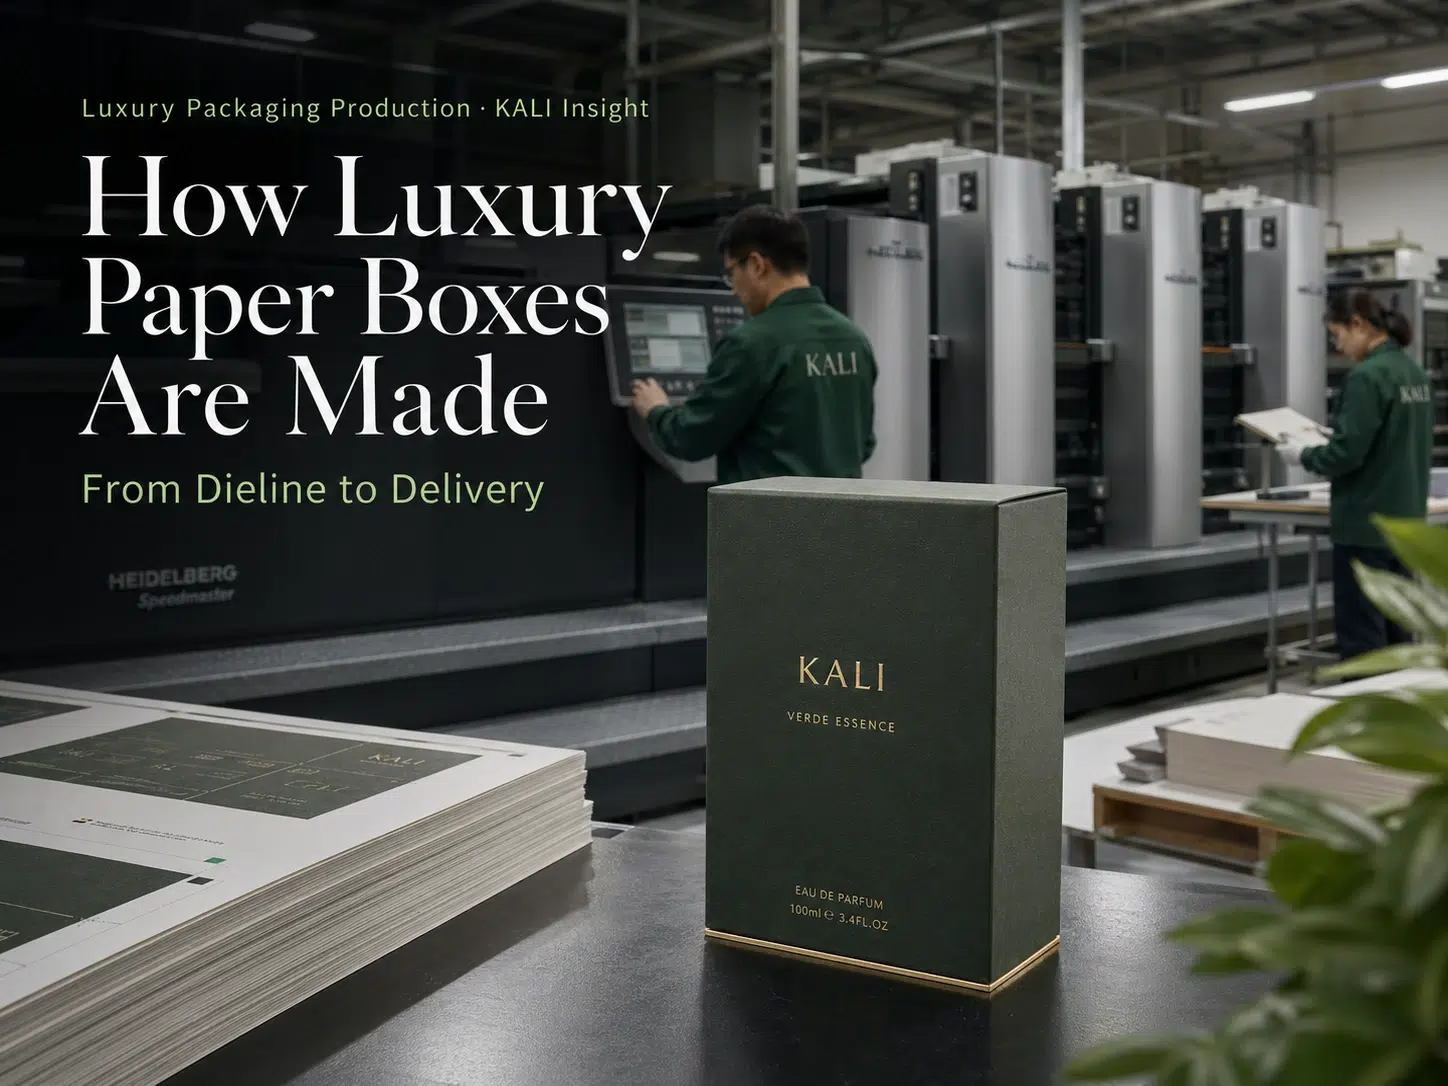


How Custom Luxury Paper Boxes Are Made: From Dieline to Delivery
Luxury Packaging Production · KALI Insight
A finished luxury paper box looks simple from the outside. Clean edges. Smooth wrapping. A lid that opens neatly. A logo that sits exactly where it should. But behind that quiet finish is a chain of small decisions, from the first dieline to the final carton loaded for delivery.
In this article:
Why the Process Matters More Than Many Brands Expect
Most brands first think about the outside of the box. The color. The logo. The texture. The opening moment. That is understandable. Packaging is usually judged by what people see first.
But a good box is built long before it is wrapped in printed paper.
A luxury paper box has to hold its shape. It has to protect the product. It has to open correctly. It has to survive packing, shipping, storage, display, and sometimes several rounds of handling before a customer ever touches it. If the structure is weak, the nicest finish will not save it.
In production, many problems that look like “printing issues” or “quality issues” actually begin earlier. A loose insert, a poor dieline, the wrong paper thickness, or a finish that does not match the structure can show up later as a visible defect.
At KALI, we usually treat a custom box as a small engineering project first and a visual design project second. The two are connected. A beautiful structure makes the decoration easier to control.
The Basic Production Flow
Every project has its own details, but most custom luxury paper boxes follow a similar path.
01
Dieline & Structure
Box type, size, insert, opening method, and product fit.
02
Material & Sample
Paperboard, wrapping paper, finish options, and physical sample check.
03
Printing & Finishing
Color, logo, foil, embossing, debossing, texture, and surface treatment.
04
Assembly & Delivery
Wrapping, gluing, QC, packing, cartons, and shipment arrangement.
Step 1: Dieline and Structural Planning
A dieline is not just a flat drawing. It is the first serious test of whether the packaging idea can become a real box.
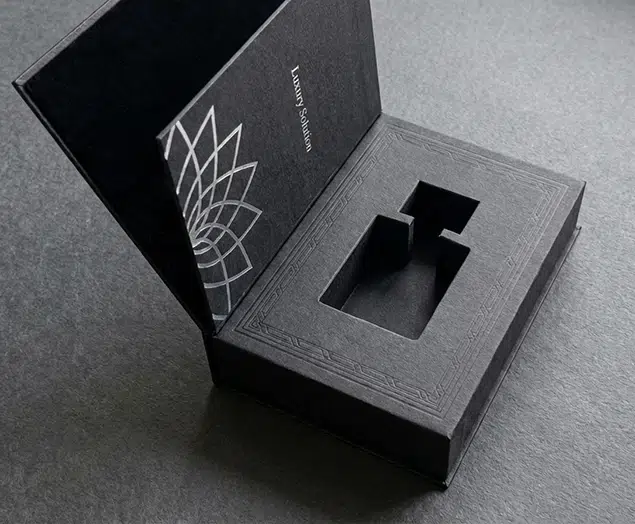
This is where the box size, folding logic, lid depth, base height, insert position, paperboard thickness, and product clearance are decided. A few millimeters can matter. Too tight, and the product is hard to place. Too loose, and the product moves during shipping. Too much empty space, and the box feels wasteful or unstable.
For luxury packaging, the structure also controls the feeling. A lid that lifts too easily may feel cheap. A drawer that drags may feel poorly made. A magnetic closure that snaps too hard may damage the opening experience. These are small things, but customers notice them.
A good dieline answers practical questions before production starts: where the product sits, how the box opens, how much material is needed, how the insert works, and where the brand elements can be placed without creating production problems.
At this stage, KALI usually checks the product dimensions, weight, sales channel, packing method, and the expected unboxing experience. A box for retail display is not always built the same way as a box made mainly for e-commerce delivery.
Step 2: Sampling and Material Confirmation
Sampling is where a nice idea becomes less theoretical.
A sample can reveal problems that are hard to see on screen. The lid may feel too loose. The insert may not hold the product well. A paper texture may look premium in a close-up image but feel too rough in hand. A color may shift after lamination or foil stamping. A rigid box may look strong but still need better edge control.
This is also where the material choices become real. Greyboard, whiteboard, specialty paper, coated paper, art paper, kraft paper, molded pulp, ribbon, magnets, EVA, foam, or paperboard inserts all behave differently. Some are better for structure. Some are better for appearance. Some create extra questions around recyclability or export requirements.
| Sample Check | What to Look For | Why It Matters |
|---|---|---|
| Product fit | Does the product sit securely without being difficult to remove? | A premium box should feel protective, not frustrating. |
| Opening feel | Does the lid, drawer, flap, or magnet open smoothly? | The opening motion is part of the brand experience. |
| Surface finish | Check color, texture, foil, embossing, lamination, and logo placement. | Small finish errors are very visible on luxury packaging. |
| Structure strength | Check corners, edges, compression, and overall box stability. | A box that looks good but deforms easily will not feel premium. |
A proper sample review should be honest. If something feels wrong at sample stage, it usually becomes more expensive to fix later.
Step 3: Printing, Finishing, and Assembly
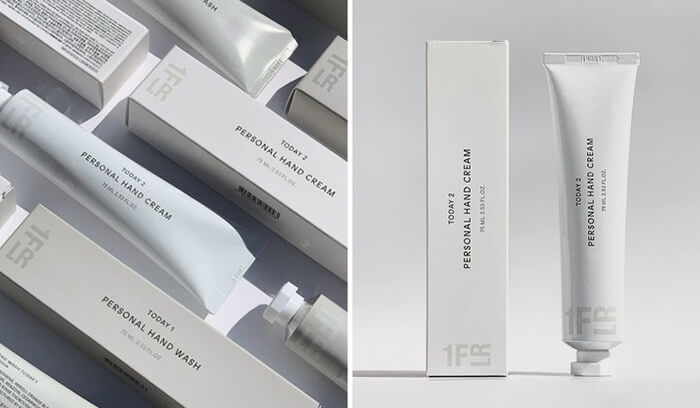
Once the sample is approved, the project moves into production. This is where the visual identity of the box is built at scale.
Printing needs stable files, clear color references, and realistic expectations. A color seen on a laptop screen is not a production standard. For brand-sensitive projects, Pantone references, proofing, and paper material checks are usually worth the time.
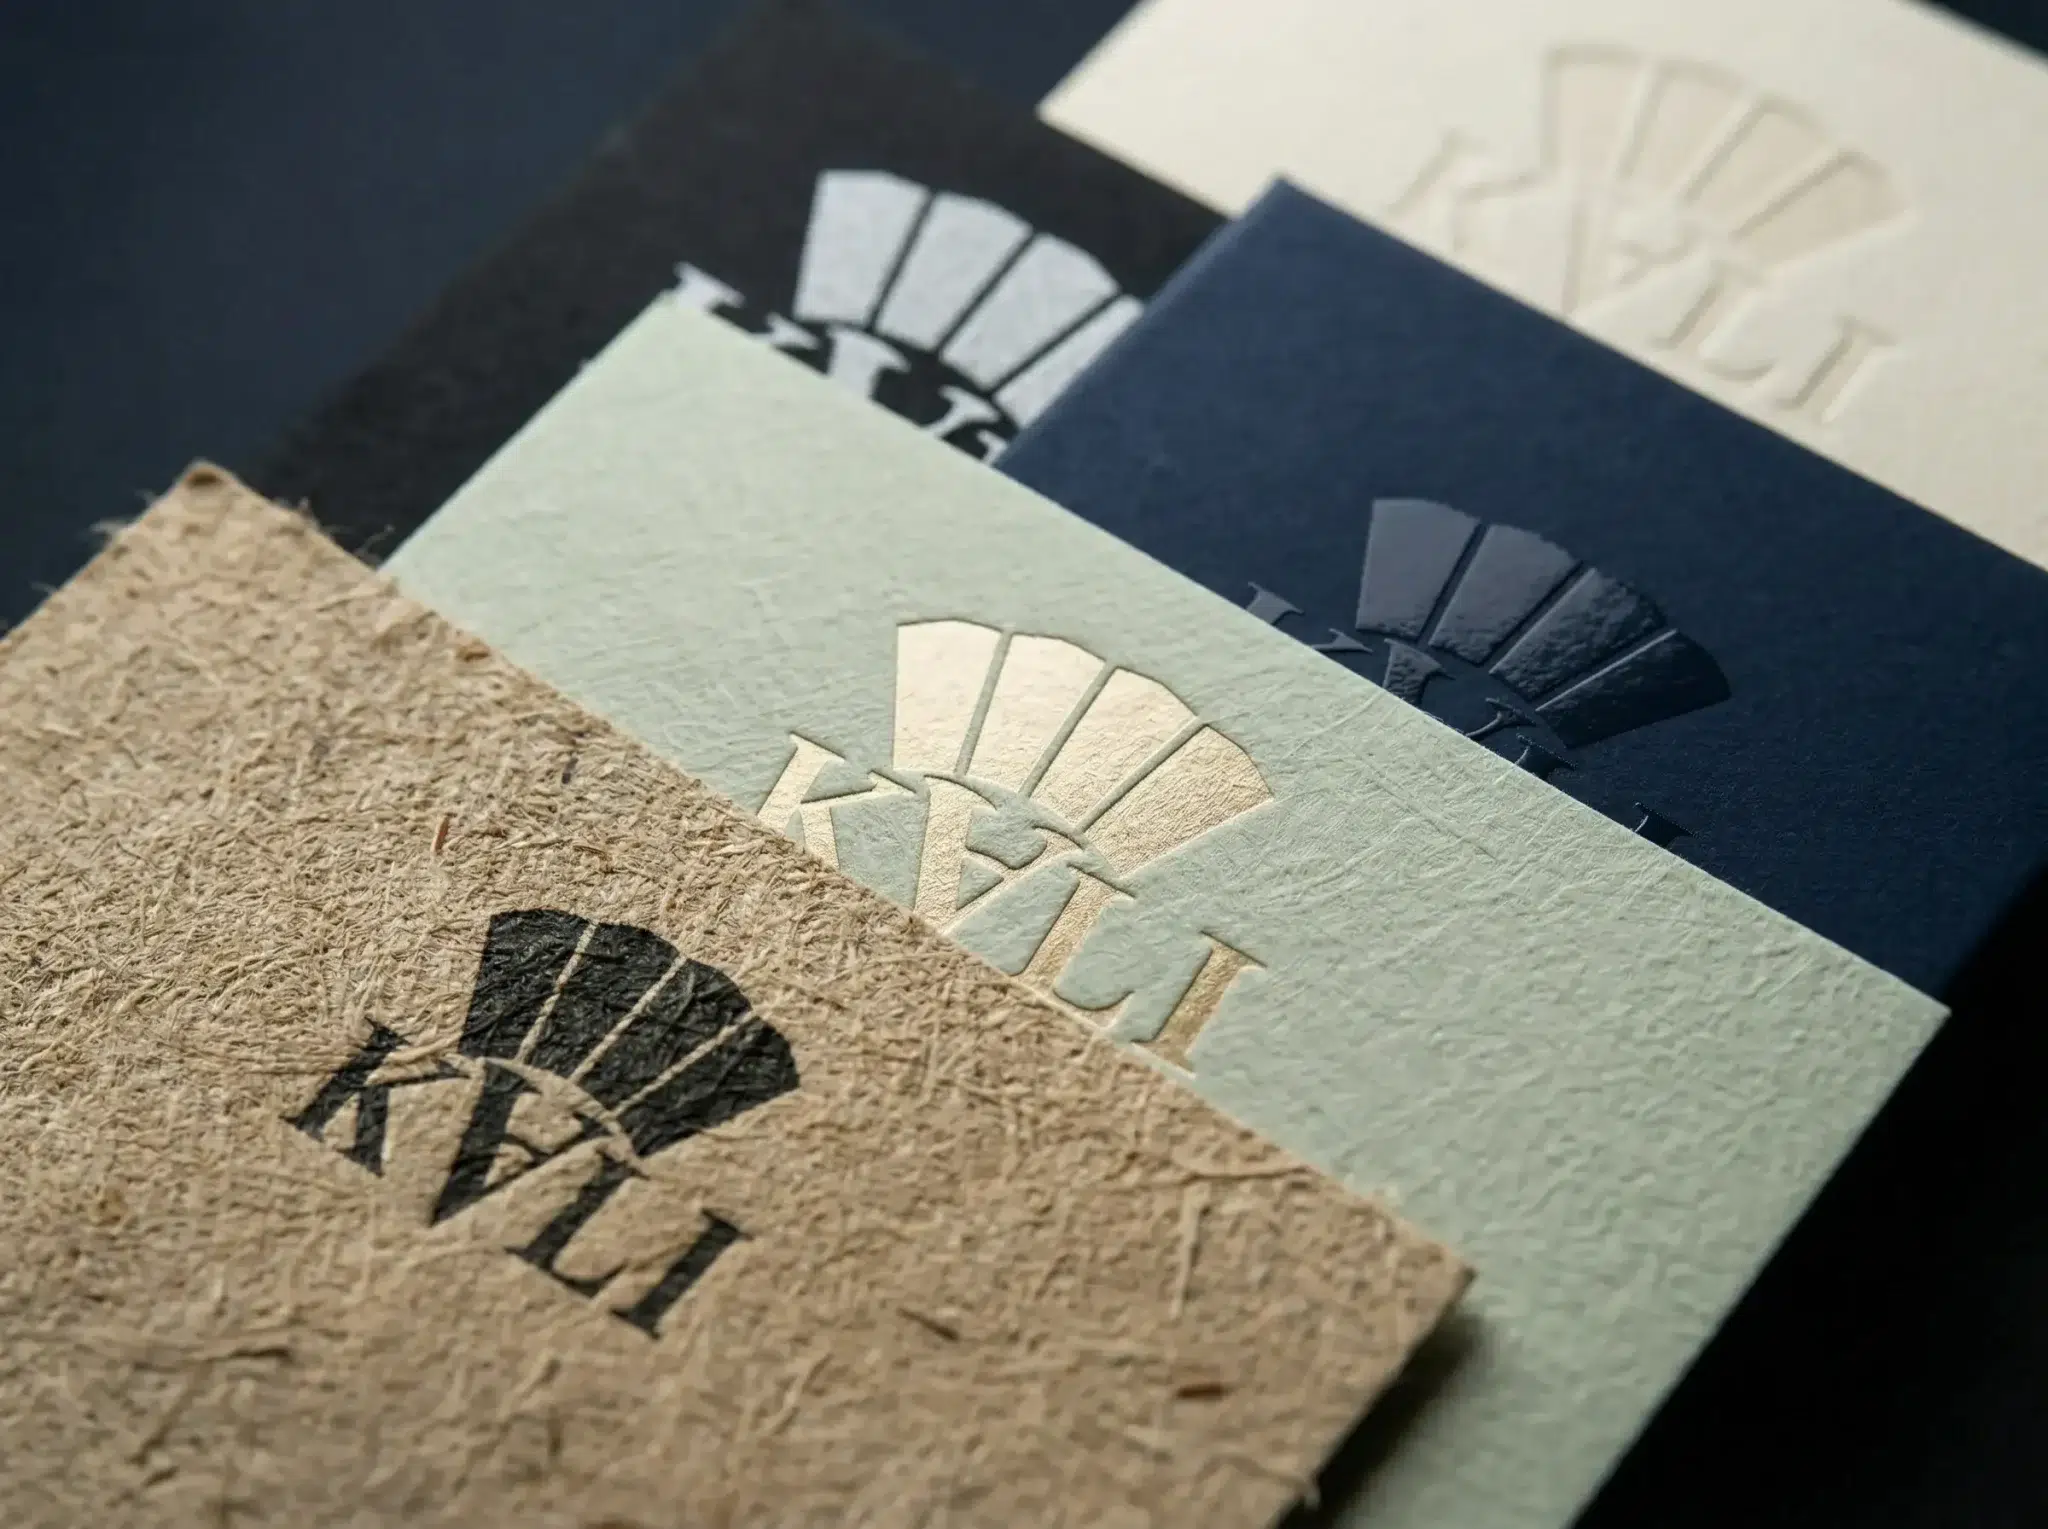
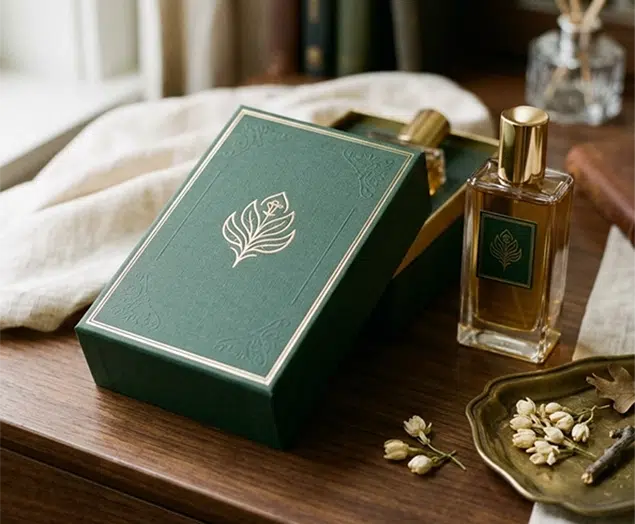
Finishing is where many luxury boxes get their character. Foil stamping, embossing, debossing, spot UV, matte lamination, soft-touch coating, textured paper, and blind logos can all make a paper box feel more expensive. But every finish adds a production variable.
The more complicated the finish, the more important the artwork and tooling become. A fine logo line may not stamp cleanly. A deep embossing may need paper and board that can handle the pressure. A dark box may show dust, scratches, or glue marks more easily than a lighter one.
One detail that brands sometimes underestimate: simple-looking boxes are not always simple to make. Minimal packaging leaves fewer places to hide small mistakes. Edges, corners, glue lines, and surface marks become part of the design.
Assembly is equally important. Rigid boxes are usually formed, wrapped, glued, pressed, and finished through several steps. If the wrapping is too loose, the corners look soft. If it is too tight, the paper can crack. If the glue is not controlled, marks may appear around the edges.
Step 4: Quality Control and Delivery
Quality control for luxury paper boxes is not only about checking whether the box exists in the right quantity. It is about checking whether the final boxes still match the approved sample.
That means looking at size, color, structure, surface finish, logo position, glue marks, corner sharpness, insert fit, opening feel, carton packing, and protection during transportation. Some problems are small in isolation. A slightly uneven corner. A small scuff. A tiny color difference. On a premium product, those details matter.
Delivery planning should also be discussed early. A box that ships flat is different from a rigid box that ships assembled. Assembled boxes take more space. They may require stronger outer cartons, better stacking control, or extra protection against humidity and compression.
For export projects, packaging also has to survive a longer chain: factory handling, carton packing, loading, sea or air transport, customs, warehouse storage, retailer distribution, and sometimes final e-commerce delivery. A box that looks perfect on the production table still needs to arrive looking like itself.
Checklist Before Starting Production
Before placing an order for custom luxury boxes, it is worth slowing down for a final check. Most production issues are easier to prevent than to correct.
- Is the product size final? Even a small product change can affect the insert and box structure.
- Has the dieline been reviewed carefully? Check size, folds, openings, glue areas, and logo placement.
- Is the material realistic for the brand and budget? Premium paper, board thickness, and finishes should match the order quantity and target price.
- Has the sample been tested with the real product? Do not judge the box empty if the final product has weight, shape, or fragile parts.
- Are print colors clearly confirmed? Use reliable references instead of relying only on screen color.
- Are finishes production-friendly? Very fine foil, deep embossing, dark paper, and soft-touch surfaces need extra control.
- Is the shipping plan clear? Confirm carton size, packing method, moisture protection, and delivery route.
Common Mistakes That Delay Box Production
Most delays do not come from one dramatic mistake. They come from small unfinished decisions.
A logo file is not ready. A product size changes after the insert is approved. A finish is chosen without checking how it behaves on the selected paper. A sample is approved by the marketing team but not tested by the packing team. A shipping carton is considered only after production is complete.
These things sound minor. They are not minor when a launch date is close.
For KALI, a smoother project usually comes from clear communication before production begins. The more information we have about the product, sales channel, target market, budget, and timeline, the better we can guide the box structure and finishing choices.
Final Thought: A Luxury Box Is Built in Layers of Decisions
A custom luxury paper box is not made in one step. It is built through a series of decisions that affect each other.
The dieline affects the structure. The structure affects the material. The material affects the finish. The finish affects the production risk. The production method affects the final packing and delivery.
When those decisions are handled carefully, the finished box feels effortless. That is usually the goal. The customer should not see the production work behind it. They should just feel that the product has been presented with care.
For brands developing custom luxury paper boxes, KALI can help move the project from dieline to delivery with a clearer structure, practical material choices, controlled finishing, and production details that support the premium experience.
Start Your Custom Luxury Box Project


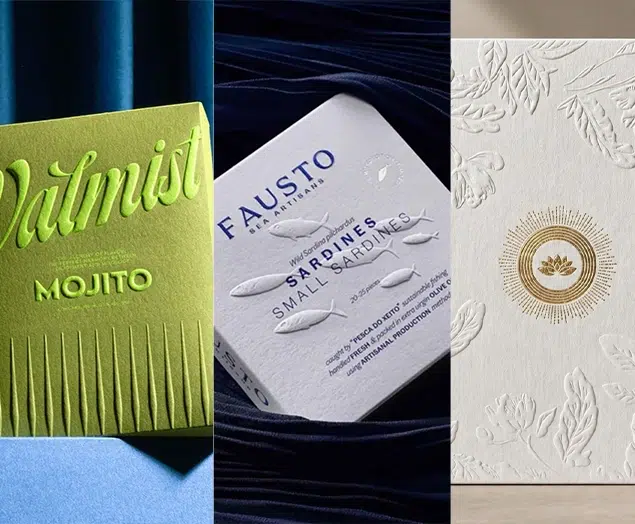
Top 10 Creative Cosmetic Packaging Design Ideas & illustrations 2023 | Luxury-Paper-Box.Com
How the Right Perfume Packaging Sells the Scent
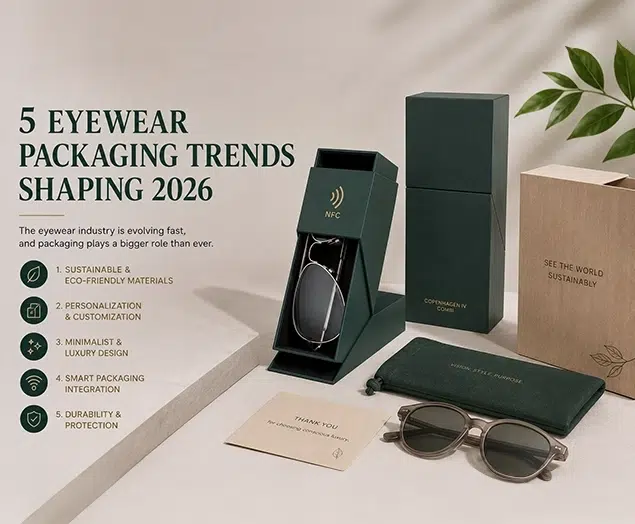
5 Eyewear Packaging Trends Shaping 2026