

How to Make a Christmas Explosion Box – DIY Christmas Box Guide 2023
The holiday season is a time for sharing joy and creating cherished memories with your loved ones. One way to make the festive season even more special is by crafting unique and personalized gifts. A Christmas explosion box is a delightful and heartfelt gift that can be tailored to suit any recipient. In this Christmas Box design guide 2023, we’ll guide you through the steps to create your very own Christmas explosion box, brimming with holiday spirit and charm.
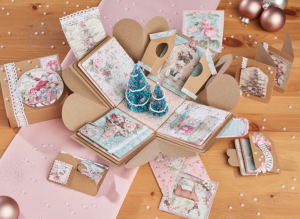
Christmas Box DIY Guide: How To Make A Christmas Explosion Box Yourself
Crafting a Christmas explosion box is a delightful way to show your love and creativity during the holiday season. Whether it’s a gift for a family member, friend, or significant other, this personalized and handmade present is sure to bring joy and warmth to their heart. So, gather your materials, let your creativity flow, and start crafting your very own Christmas explosion box for a memorable and magical holiday gift.
Step 1: Build the Base Box
Materials Needed:
- Cardstock paper or decorative scrapbook paper.
- Ruler and scissors.
- Double-sided tape or adhesive.
Instructions:
Begin by cutting a square piece of cardstock for the base of your explosion box. This square will serve as the foundation for your entire project.
Choose a size for your base depending on how large or small you want your explosion box to be. A common size is 12×12 inches.
Fold the square in half, creating a crease down the center. This fold will help you create the box’s structure.
Step 2: Decorate the Base Inside
Materials Needed:
- Decorative scrapbook paper, stickers, or other embellishments.
- Photos or images for the interior.
Instructions:
Open the folded cardstock square from step 1. You’ll now see four quadrants inside the square.
Decorate the inside of each quadrant to create a visually pleasing backdrop. This can include adding festive paper, holiday-themed stickers, or other decorative elements.
Add photos or images that are significant to your theme or the recipient’s memories in each of the quadrants.
Step 3: Decorate the Outside
Materials Needed:
- Decorative scrapbook paper.
- Scissors, ruler, and double-sided tape.
Instructions:
On the outside of the folded cardstock square (the top of your box), decorate it according to your chosen Christmas theme. You can use decorative paper, stickers, or any other elements that match your design.
Don’t forget to cover the sides of the box with coordinating paper or designs. This will make your box look cohesive and complete.
Step 4: Prepare the Inside Decorations and Decorate the Inside Box
Materials Needed:
- Additional decorative paper, stickers, and embellishments.
- Photos, notes, and small gifts.
- String or thin ribbon (optional).
Instructions:
Inside your decorated box, you’ll want to create the explosion effect by adding smaller boxes, pockets, or compartments. These will hold your surprises.
To create these inner boxes or pockets, cut smaller pieces of cardstock or decorative paper, fold them, and attach them to the inside of the box. You can also use double-sided tape to create small pockets for holding photos, notes, or small gifts.
If you want to add a playful “pop” to your explosion box, attach strings to these inner boxes, so they pop out when the box is opened.
Fill the inner compartments with photos, notes, and small items related to your theme.
Each step in this process allows for a high degree of personalization. Tailor your Christmas explosion box to the recipient’s interests and preferences to create a truly special and memorable gift. If you need to wholesale Christmas boxes online, KALI is a professional Christmas packaging box supplier and manufacturer you can always trust.


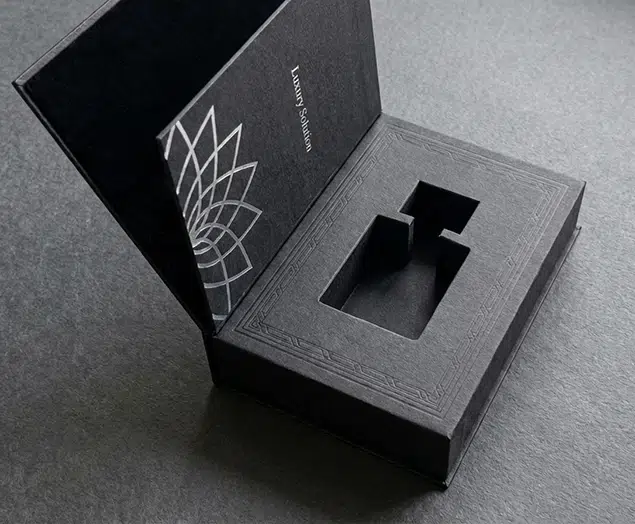
Top 10 Creative Cosmetic Packaging Design Ideas & illustrations 2023 | Luxury-Paper-Box.Com
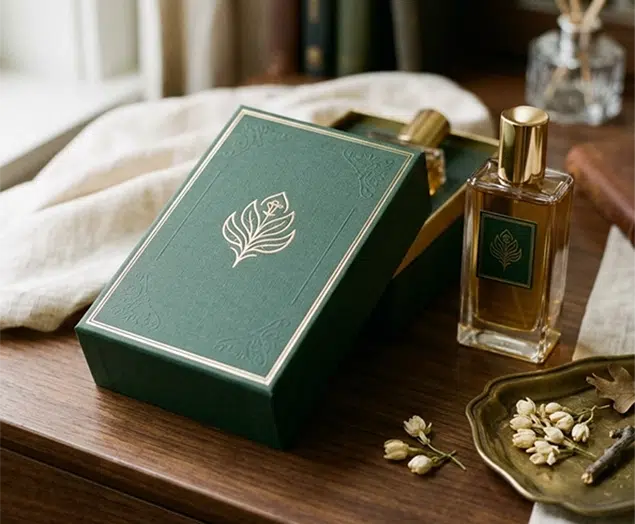
How the Right Perfume Packaging Sells the Scent

5 Eyewear Packaging Trends Shaping 2026