

DIY Cosmetic Box Guide – How To Custom Cosmetic Boxes For Your Business
How to make custom cosmetic box packaging for your business? A lot of manufacturers are using just blank white boxes with labels put on them, but what are the best ways of DIY cosmetic boxes? Next, we are going to show you the best tips and tricks on making the best custom box packaging for cosmetics, skincare products, and makeup. Before you do go and purchase boxes, make sure you can actually find a box that fits all of your products first.

How to measure your container
The first thing you want to do is take the width, length, and height of all your containers. If you get a measurement that is exactly two inches, a two-inch box is not going to fit. So you’re going to need a box that is two and a quarter inches or two and a half inches. Two and a half inches might be too big, so you want to go for two and a quarter. You always want to round with these boxes, so you’d better go with two and a quarter by two and a quarter by two inches for the height. Also, you want to make sure you’re including the measurement of the cap too. It’s right on three and a half Once you have the measurement length width and height of all of your bottles and jars. Let’s go ahead and start shopping for boxes.
Where to buy the best cosmetic boxes
The best place to wholesale custom cosmetic boxes and custom skincare products is Luxurypaperbox.com because we will send you free samples. That way, you can get a good feel of what each size box is like. What the box is called is a cosmetic box, empty palette, and skincare box at luxurypaperbox.com. We only offer it in brown or whites, luckily you can probably find different colors that you want. Moreover, there are many size options for you to choose from. Without a doubt that Luxurypaperbox.com is always the most reliable custom box packaging manufacturer in China, we can provide the best quality cosmetic box packaging at the lowest price.
How to make labels for cosmetic boxes
Once you have boxes that fit each of your products, we can go ahead and start designing the labels. You can design all the labels on Picmonkey, but you can use whatever software works for you. Click on create new, go to a blank canvas, and then scroll all the way down to eight and a half by eleven inches. Because that is the size of standard printer paper.
First thing first, put the box on the paper to see how much space it takes up. When it comes to the length, it takes up roughly about that much of the paper. Try to reflect that over on Picmonkey. Go to graphics, click on basic grab square, click on effects, click on the outline and change the outline to black. Then go to adjust, click on this color and make it white. We just end up with a square that has an outline. Go ahead and try to get the length. You are going to duplicate it and see if that looks similar to what’s on our paper in person.
When it comes to the width, just go through and see how many times it can fit. Then let’s reflect that on Picmonkey. You are going to delete that box. Once you are done, download save the image and let’s print it out. We’ll see if it fits after you cut this out and place it on the box.
How to cut labels without Cricut?
Just in case you’re not going to be using a cricut to cut your labels, you’re going to create a template. So go ahead and just duplicate this as much as you can on the sheet of paper to fill it up. And there you go and then save it as a template. What you’re going to do is go to file and click edit a copy, that way you’ll have an exact copy of this. Once you delete all of those and then go to edits, hit crop canvas. You are going to crop out, so you have just the inside of this label, hit apply, and then go ahead and just delete that border.
That is where you can start actually designing your label and filling out your label. Make sure you have a front and a back for this label and save that. Then what you’re going to do is go back to Picmonkey. If you don’t have a Cricut this is what you’re going to do next. Go ahead and upload the template that you worked with before. Click add image and add in the label that you just created, tap on it. Then move it to fit right inside your template, and just keep doing this until you have it completely filled up.
Once you have your template completely filled out, make sure you save it. Because this is what you’ll be printing out every time you need more labels. The cool thing about these product boxes is that you really don’t need to worry about the labels being waterproof. Because the boxes aren’t waterproof anyway. So there’s no need to spend extra money on waterproof labels. Just use this glossy sticker paper.


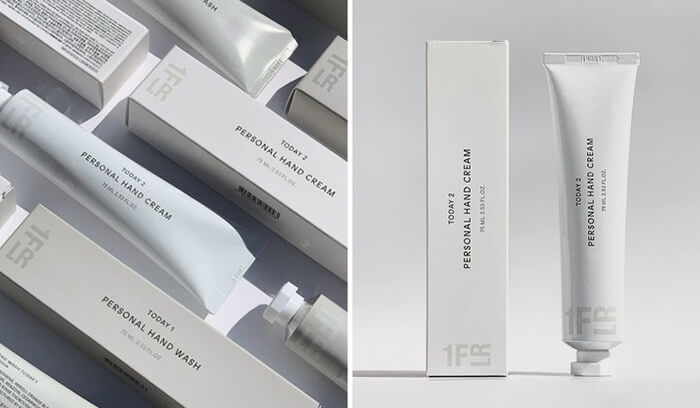
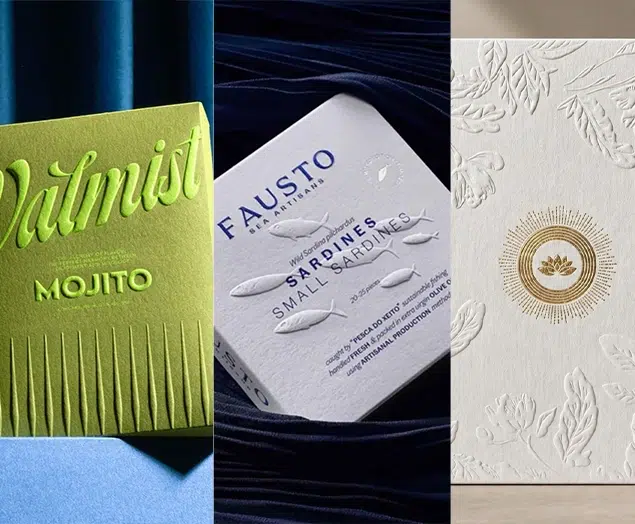
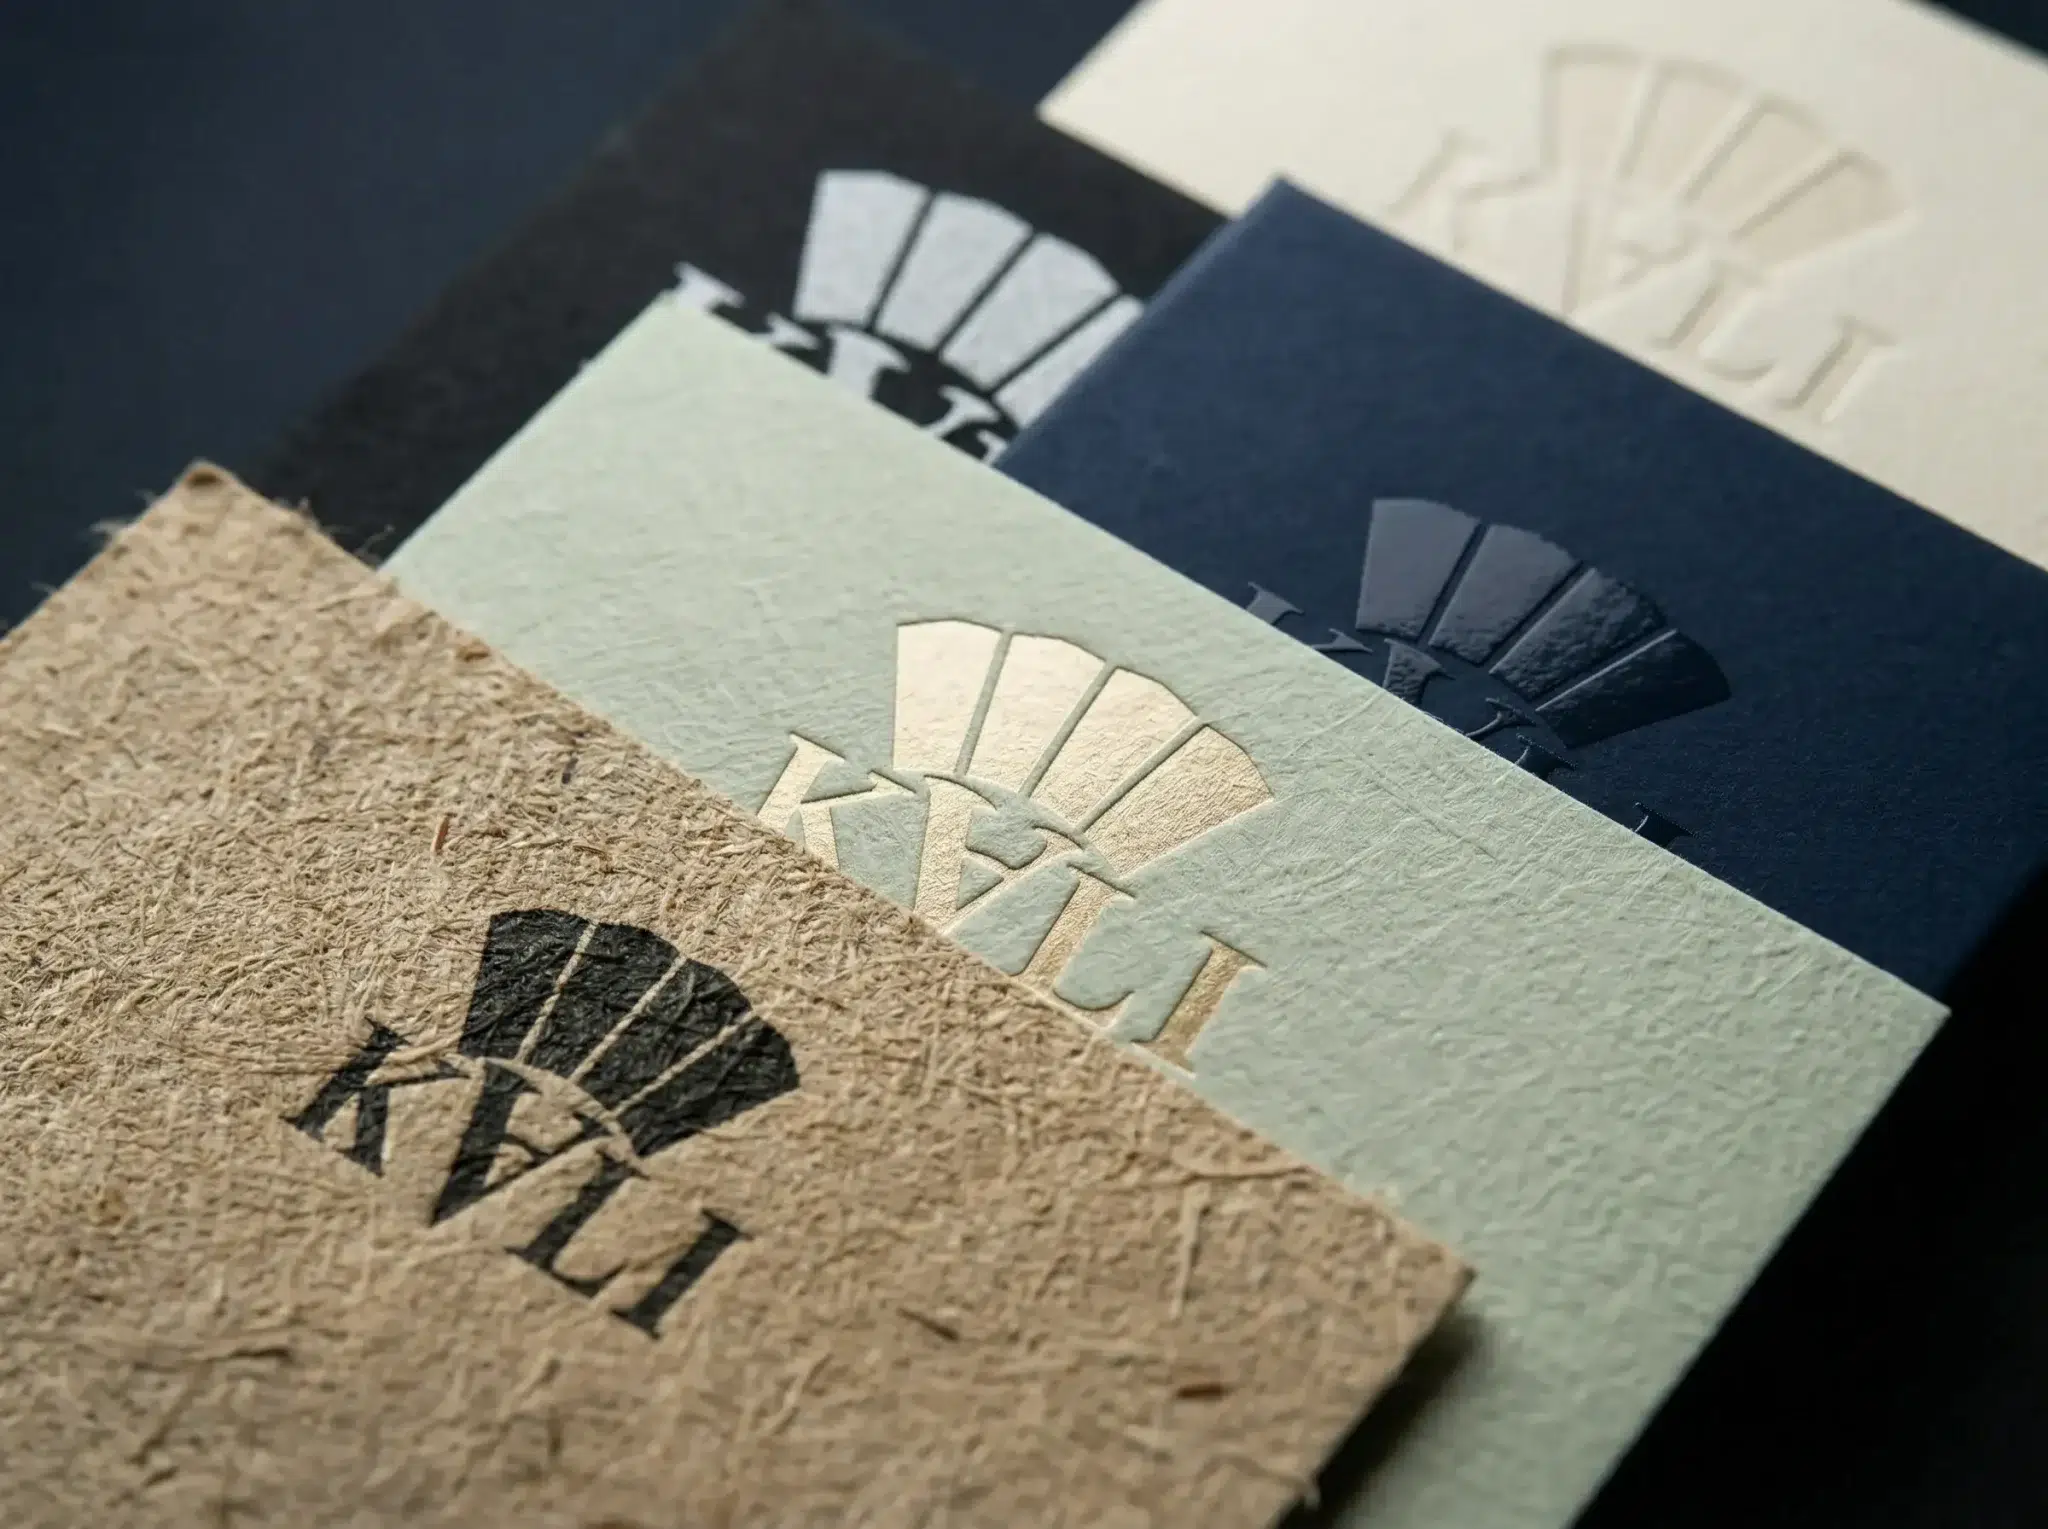
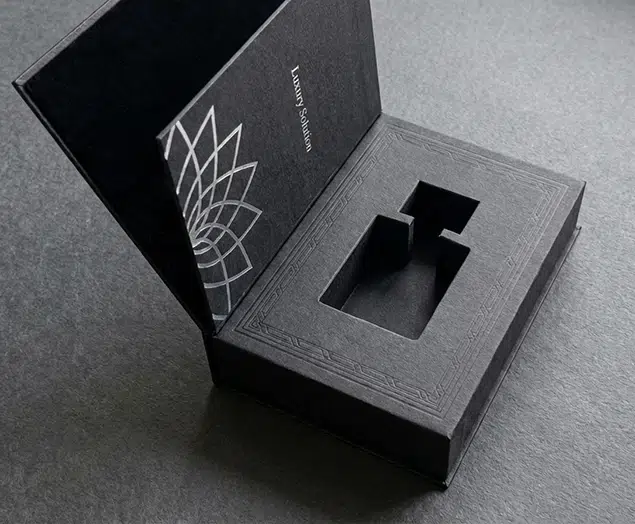
Top 10 Creative Cosmetic Packaging Design Ideas & illustrations 2023 | Luxury-Paper-Box.Com
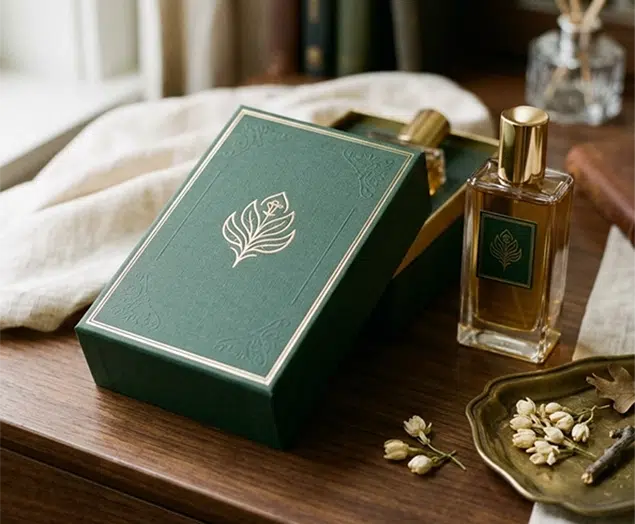
How the Right Perfume Packaging Sells the Scent
5 Eyewear Packaging Trends Shaping 2026